Processing a Trip Request
As an administrator, you can review, approve, or decline transportation requests while managing vehicle and driver assignments using the streamlined approval process. The system helps prevent double-bookings and keeps all stakeholders informed with automated notifications.
-
Clicking anywhere on a trip request card opens a pop-up window, where the admin can Approve or Decline the request.
-
To approve a request, enter the following information:
-
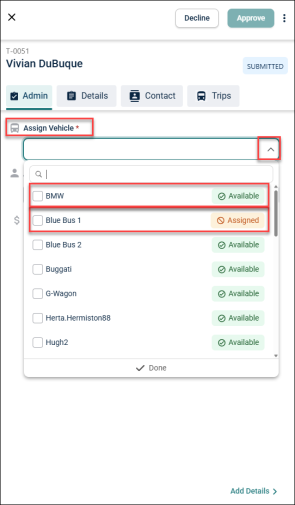
Assign Vehicle: Select a vehicle from the drop-down menu labelled "Available" or "Assigned".
-
NOTE If a vehicle that is already assigned to another trip is selected, update the existing trip to prevent double booking by following the same procedure described above. Multiple vehicles can be assigned to a trip.
-
Assign Driver: Select a driver from the drop-down menu labelled
"Available" or "Assigned".
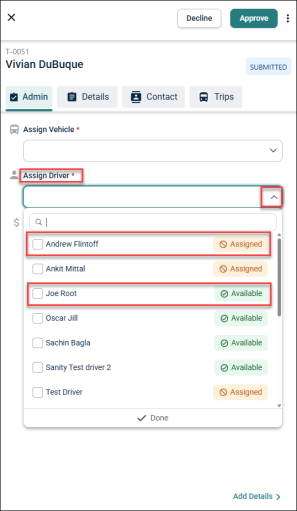
NOTE If a driver that is already assigned to another trip is selected, update the existing trip to prevent double booking by following the same procedure described above. Multiple drivers can be assigned to the trip.
-
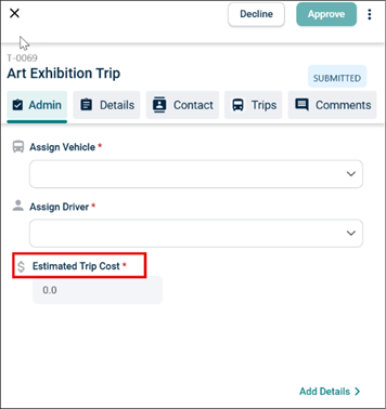
Estimated Trip Cost: Enter the estimated trip cost and click Approve .
-
Comments: The comment can be text or image as required. User can also edit and delete the comments.
NOTE
* All users that have access to the trip will be able to see the comments.
* An email is sent to Admin and requester each time a new comment is added to a trip.

-
To approve a request, click the Approve button. The trip request will be approved, and a success notification will appear on the screen. The requester will receive the following email:

-
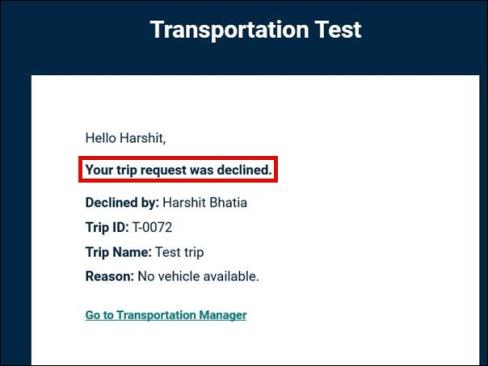
To decline a request, click the Decline button, a popup window will appear where the admin can provide a reason for declining the request.

NOTE The decline reason will show in the status on the list page. The requester will receive the following email:
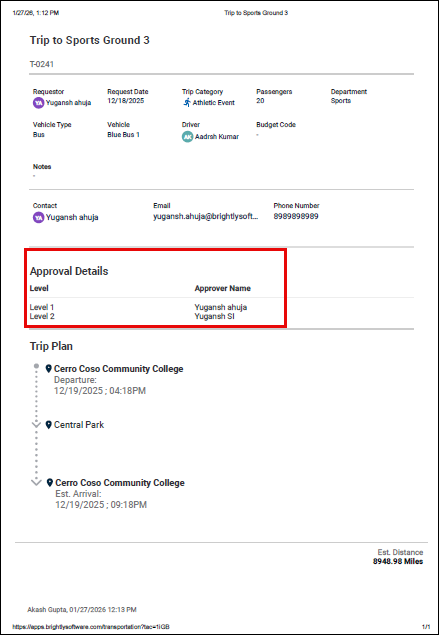
Print Trip Request Details
-
If the driver is not a user of the system, they will not have access to the trip request details. In such cases, the admin or requester can provide a hard copy as required.
-
Users can print the trip request by clicking the three vertical dots and selecting the Print option, allowing them to share the details as needed.
NOTE Under the Approval Details section of the printed trip request, you can find the information about who has approved the trip.